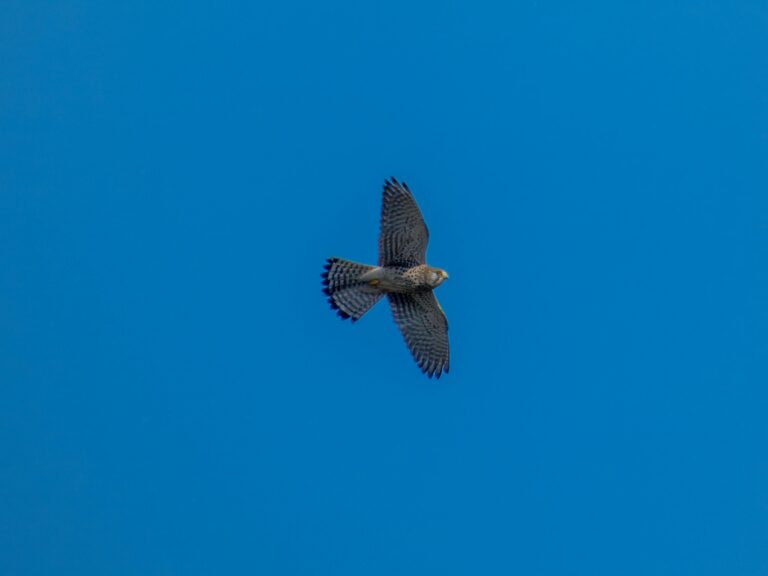
Capturing the Majesty of Kestrels Through Photography
Learn capturing the majesty of kestrels through photography with UK fieldcraft, settings for hovering and hunting, and ethical tips for sharp, natural
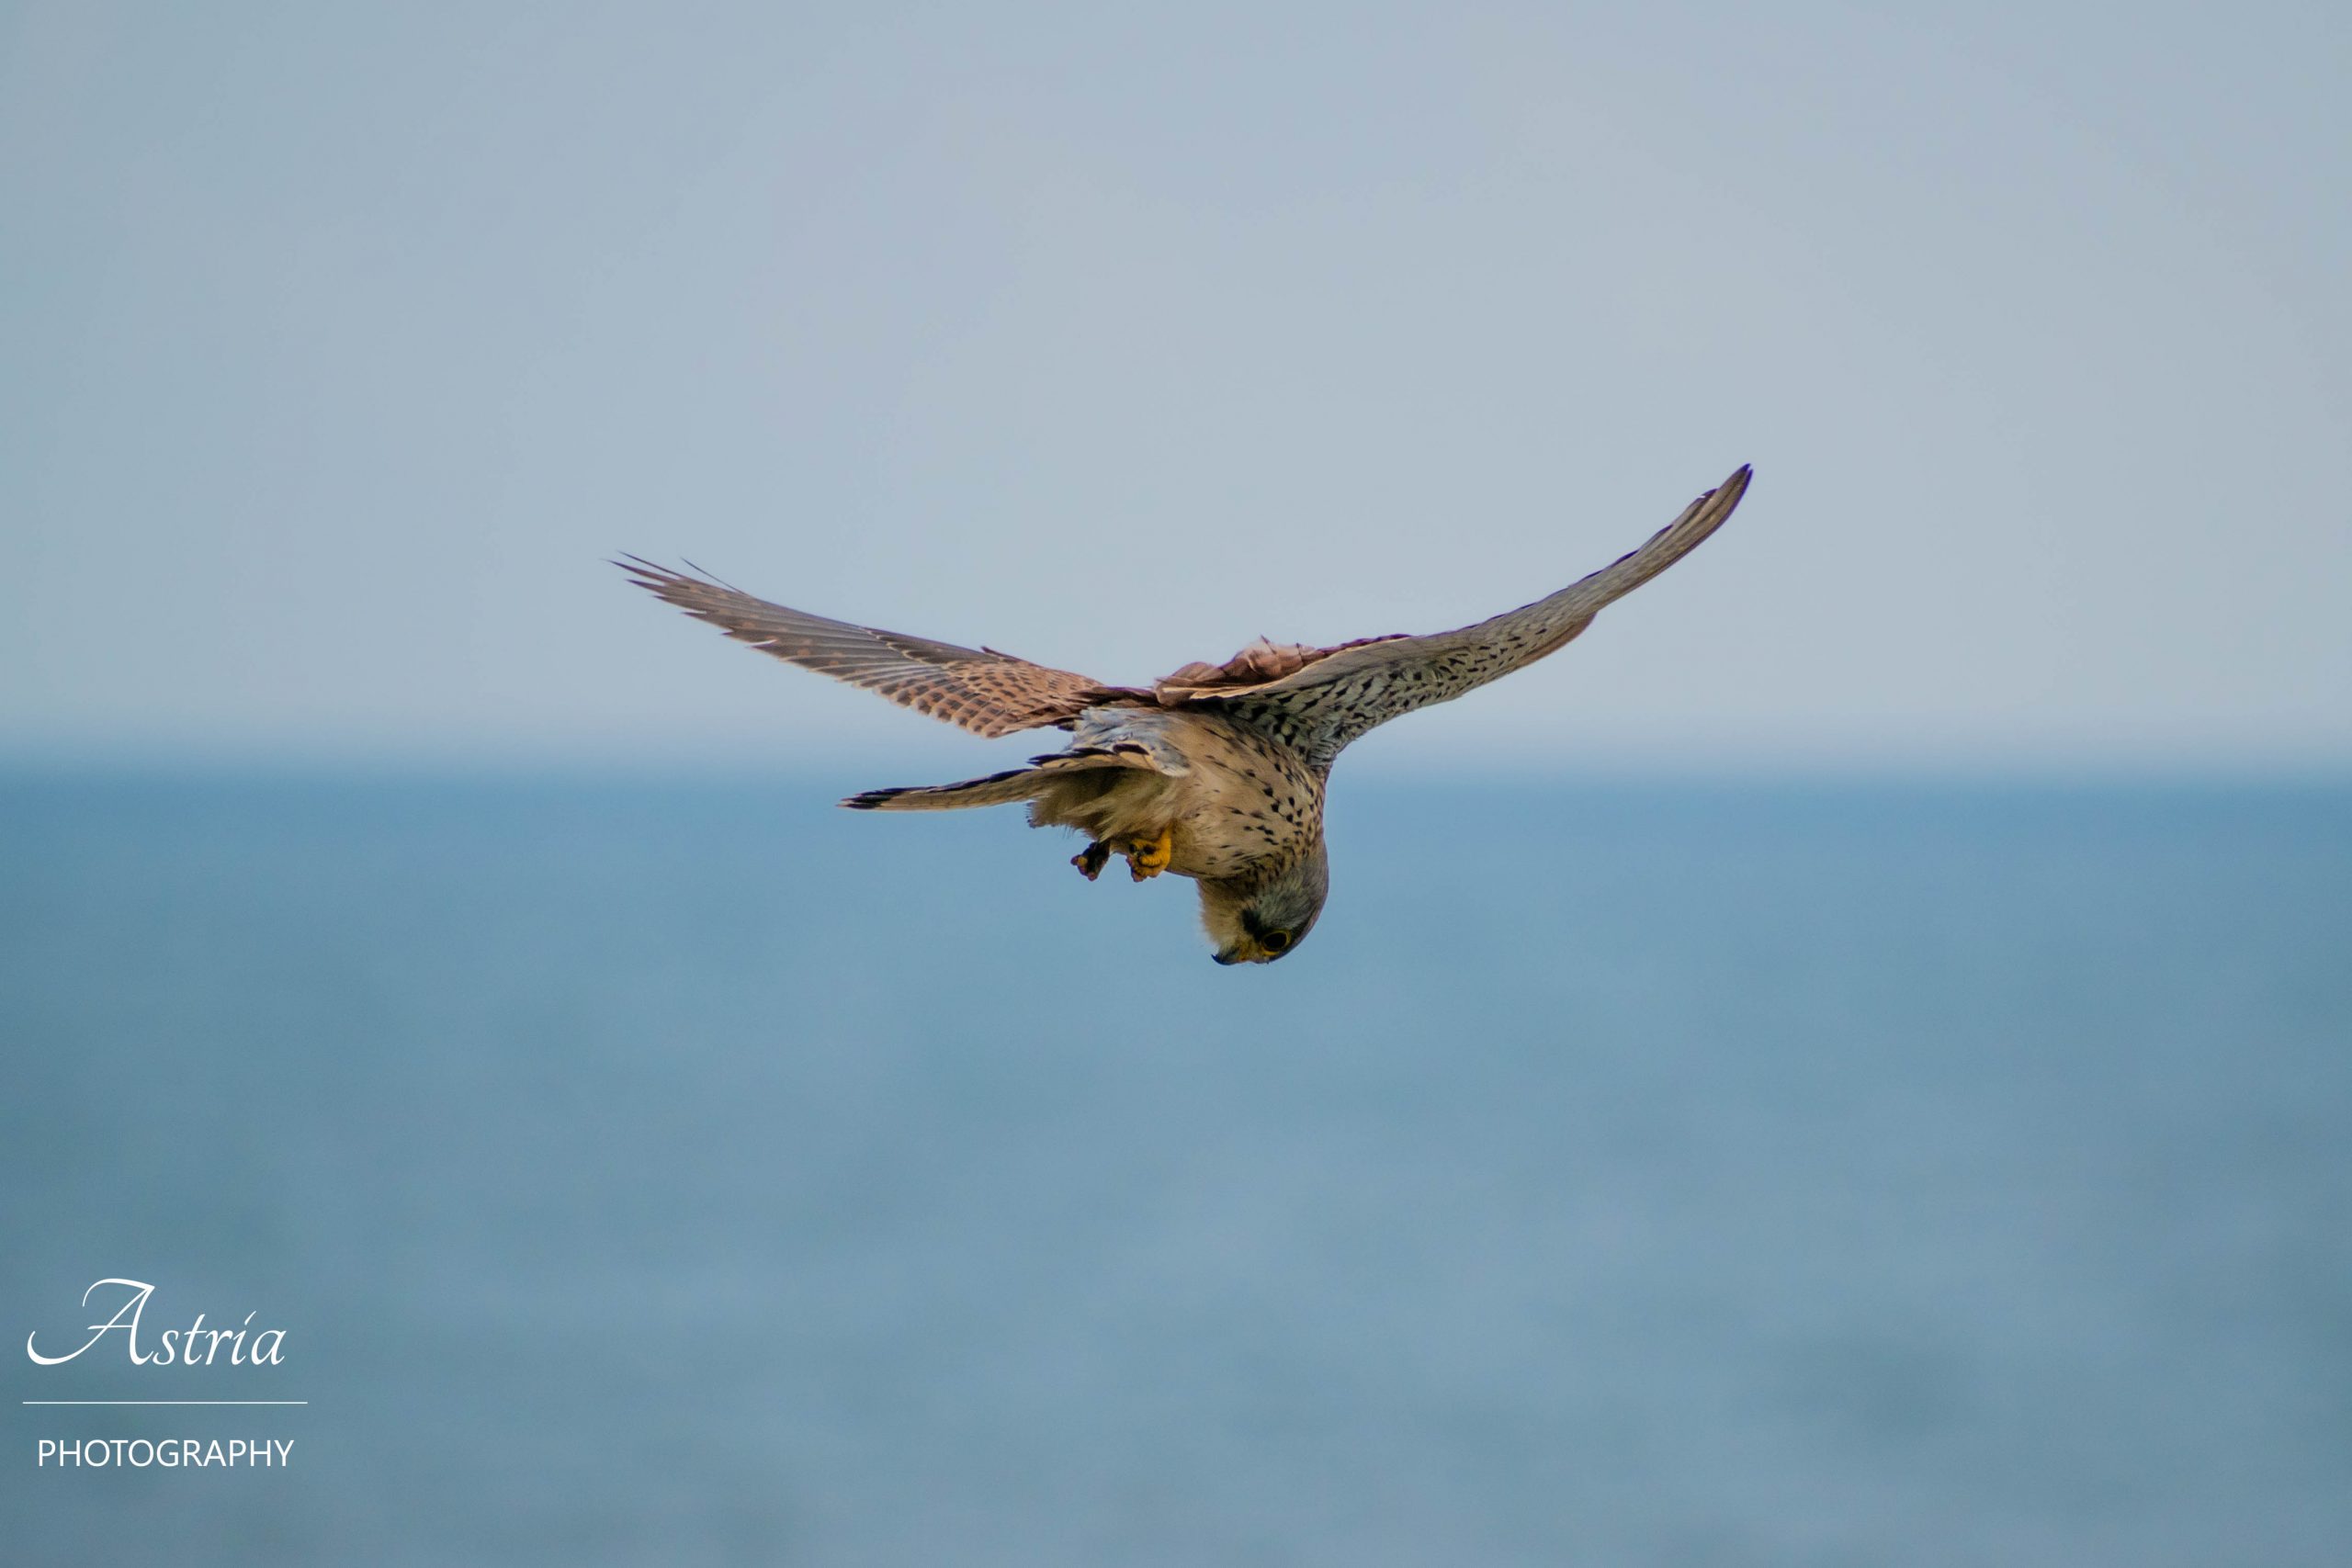
You’ve seen it: a kestrel hanging almost motionless in the wind, then dropping like a stone onto a vole run. The problem is that when you point a camera at it, the bird feels too far away, the sky blows out, and your “majestic” moment turns into a soft, tiny speck. This UK guide to capturing the majesty of kestrels through photography gives you a clear path: know what moments to look for, find reliable hunting areas, use fieldcraft to get closer without flushing the bird, dial in settings for hovering and stoops, and finish with light, natural edits that keep feather detail.
What “majestic” looks like in kestrel photography (and how to plan for it)
Kestrels are small falcons, but they photograph “big” when you lean into what makes them distinctive. Majestic kestrel images usually show one of their signature behaviours, a strong pose, and clean separation from the background. Before you head out, make yourself a simple shot list so you’re not guessing in the moment.
Five hero moments to target:
- The hover into wind: wings beating, tail fanned, head locked on the ground. This is the classic kestrel look and one of the most dramatic shots you can make in UK farmland.
- The perch scan at eye-line: a bird on a post or wire, looking down the verge with intent. It’s “majestic” when the head angle is strong and the background is uncluttered.
- Talons-out landing: a split-second as the bird brakes onto a post. It’s dynamic and shows power without needing a huge wingspan.
- Stoop/pounce sequence: the drop, the flare, then the strike. Even one sharp frame reads as pure purpose.
- Prey carry: kestrel holding a vole or large insect, often flying low back to a favoured perch. It tells a story instantly.
Planning is simple: pick a location with repeat perches, check wind direction (hovering is far more likely with a decent breeze), then position yourself so the bird is lit well and the background is distant.
Find kestrels in the UK: habitats, times, and tell-tale signs
If you want consistent kestrel photography, the goal isn’t “a nice walk and hope.” It’s finding a patch where kestrels hunt predictably. In the UK, kestrels favour open ground where they can spot prey and use hover-hunting effectively.
Where to look (UK-specific):
- Farmland edges and rough pasture: especially where grass margins meet hedges, ditches, or field corners.
- Roadside verges on quieter country lanes: kestrels often use posts and wires to scan the verge. (Treat roadside photography with extra care—more on safety later.)
- Heaths, commons, and moorland edges: open ground plus wind can equal excellent hovering opportunities.
- Coastal dunes and grassy clifftop fields: in the right conditions, kestrels will work the breeze and quarter along edges.
- Fence lines, pylons, and isolated trees: these become repeat “stations” for hunting.
Best times and conditions: early morning and late afternoon give kinder light, warmer tones, and more shape on the feathers. Wind matters: a steady breeze can produce repeated hovering in the same strip of field. Winter can be surprisingly good because vegetation is lower and kestrels can be easier to spot on exposed perches; in summer, taller crops and heat shimmer can make long-distance shots harder.
Tell-tale signs you’ve found a working kestrel: repeated use of the same post or wire, hovering over the same patch of rough grass, and evidence beneath perches such as whitewash or pellets (don’t disturb anything—just use it as a clue). If you watch for ten minutes and the bird returns to the same “route”, you’ve found a reliable photo opportunity.
Fieldcraft for close, natural images (without flushing the bird)
Kestrels can be tolerant in some areas and nervous in others. Your best shots come from staying calm, predictable, and respectful. If the bird keeps hunting naturally, you’ll get more chances and better behaviour.
Use the car-as-hide approach on suitable lanes: in many UK rural areas, kestrels are used to cars. If you can pull into a legal, safe lay-by or passing place, you can often shoot from the window with far less disturbance than walking straight towards the bird. Keep movements slow, avoid slamming doors, and don’t edge closer once the bird is watching you hard.
On foot, use cover and angles: hedges, gates, ditch lines, and field undulations help you break your outline. Move when the kestrel looks away, and pause when it looks back. Avoid staring directly at the bird as you approach—side-on, stop-start movement can feel less threatening.
Control the background before you press the shutter: one step left or right can change a messy hedge into clean sky, or move a bright signpost out of the frame. If possible, keep the sun behind you for richer colour and a catchlight in the eye. If the day is warm, watch for heat haze over long grass or tarmac; it can soften detail even with perfect focus.
Ethics that protect kestrels (and your photography): don’t bait kestrels with live prey, don’t crowd birds with other photographers, and avoid nest sites entirely—especially during the breeding season when disturbance can cause real harm. A practical rule: if the bird repeatedly looks at you instead of hunting, calls in alarm, or shifts away from a perch because of your presence, you’re too close. Back off and let the bird settle.
Camera and lens setup for kestrels (practical, not brand-specific)
You don’t need specialist kit to photograph kestrels, but you do need a setup that keeps shutter speed high and autofocus responsive.
Lens reach: in the UK, 300–600mm is the comfortable range for perched birds and hovering at a distance. A 200–300mm can work when kestrels hunt close along a hedge line, or if you’re shooting from a car and the bird lands on nearby posts. If you’re often cropping heavily, it’s usually a sign you either need more reach or a better approach angle rather than “more megapixels”.
Support choices: handholding is common because kestrels move quickly and you’ll pan often. A monopod can help if your lens is heavy, but it may feel restrictive for hovering shots. If you’re shooting from a car window, a beanbag or window support can steady perched portraits. If your camera/lens has stabilisation, it can help with viewfinder steadiness, but don’t rely on it to freeze wingbeats—shutter speed does that.
Autofocus setup: use continuous AF (AF-C/AI Servo), with subject tracking if your camera handles it well. Back-button focus can be useful: keep AF engaged while tracking a hover, then release to lock distance if the bird pauses. Set your drive mode to high-speed burst; kestrel wing positions change rapidly, and short bursts increase your chance of a clean, powerful frame.
File and exposure basics: shoot RAW if you can; it gives you more flexibility to recover sky highlights and pull detail from shadows under the wing. If the kestrel is against a bright sky, be ready to use exposure compensation to avoid a silhouetted bird.
Settings that work: hovering, hunting dives, and perched portraits (with starting points)
Kestrels force you into “action photography” even when they’re apparently still. The hover is a fast-moving subject, and the pounce is faster still. Use the settings below as starting points, then adjust for light and background. If your camera offers custom modes, consider saving one for hover and one for perched shots.
Hovering kestrel in wind
The hover is where many images fail: the bird looks still, but the wings are beating and your autofocus is working hard. Aim for a shutter speed that freezes detail in the primaries.
- Shutter speed: start at 1/2000–1/3200. If the wind is strong and the bird is close, you may get away with 1/1600, but 1/2500 is a dependable target.
- Aperture: f/5.6–f/8. Stop down a touch if you have the light; it can help keep the head and body sharp during slight angle changes.
- ISO: use Auto ISO with a sensible cap, or raise ISO as needed. Grain is preferable to blur, but don’t underexpose heavily—lifting shadows later can look worse than a clean higher ISO.
- AF and area: continuous AF with a centre/zone area often works better than tiny single-point when the bird moves in the frame.
- Exposure compensation: against pale sky, try +0.3 to +1.0 to keep the kestrel properly exposed (then watch highlights in the sky). If the sky is very bright, you may need to compromise and protect feather detail first.
Practical tip: place yourself so the kestrel hovers “side-on” rather than directly above you. Side-on hovers show wing shape and posture, which reads as more majestic than a foreshortened view.
Stoops, pounces and prey carries
The kestrel’s hunting drop is quick and unpredictable, but you can improve your odds by anticipating where it will strike.
- Shutter speed: start at 1/3200–1/4000 for the drop and flare. If light is low, prioritise 1/2500 and accept a higher ISO.
- Aperture: f/5.6–f/7.1 is a good balance between light and enough depth for a moving subject.
- AF approach: use a wider AF zone and keep the bird in that zone. If your camera supports it, use tracking initiated on the kestrel as it hovers.
- Pre-focus strategy: if the bird is repeatedly hunting the same strip, pre-focus (or at least be ready) at roughly that distance. When the drop happens, you’re not asking the lens to hunt from infinity.
For prey carries, be ready for a low, direct flight to a perch. If you see a successful strike, get your camera up immediately, keep both eyes open, and pan smoothly; the “majestic” moment is often the first strong wingbeat with prey visible in the talons.
Perch shots with “attitude”
Perched kestrels can deliver your sharpest, most detailed images—if you keep them relaxed and choose a flattering angle.
- Shutter speed: 1/800–1/1600 (faster if the bird is bobbing in wind or you’re handholding a long lens).
- Aperture: f/5.6–f/7.1 for good feather detail while still softening the background.
- Focus point: focus on the eye. If the head angle changes, refocus—don’t rely on one lock and hope.
Wait for the head turn. A kestrel looking slightly towards you with a visible catchlight will look far more commanding than the same bird staring away. Short bursts help capture micro-movements in posture.
Composition tips to emphasise “majesty” in kestrel photos
Majesty is partly technical sharpness, but it’s also how you frame the bird’s energy. Kestrels can look “busy” in photos unless you simplify the scene and make their intent clear.
Give the bird space to work: for hovering and flight, leave space into the wind or in the direction the kestrel is facing. That negative space makes the image feel purposeful rather than cramped.
Choose the right framing for the behaviour: a hover can work centred (it emphasises symmetry and control), while a perched scan often looks stronger on a third with the perch leading into the frame. Don’t be afraid to include a little habitat—post, wire, rough grass margin—because it makes the shot feel authentically British rather than a “cut-out bird on blank sky”.
Watch wing and tail positions: the tail fan is a key kestrel feature; when it’s visible and well-lit, the bird looks more powerful. For flight, aim for wing positions that show shape (a slightly raised wing can look elegant; a mid-downstroke can feel forceful). Take short bursts to catch the best frame rather than holding the shutter and filling your card with near-identical images.
Keep backgrounds clean: a distant hedgerow, smooth field, or even a simple overcast sky can be ideal. If you’re stuck with clutter, change your shooting height or move along the verge to shift the background behind the bird.
Light and weather: using UK conditions to your advantage
UK light is changeable, but that’s a benefit if you work with it.
Overcast days act like a giant softbox, reducing harsh shadows on the kestrel’s face and making feather detail easier to hold. The risk is flatness—counter it by getting closer, composing more tightly, and looking for a darker, more distant background to create separation.
Windy days are your friend: kestrels are more likely to hover and to repeat the same hunting line into the breeze. Position yourself so the bird approaches with the wind and (ideally) with the sun behind you.
Showery weather can produce dramatic skies. If you expose for the kestrel and keep highlights under control, those dark cloud backdrops can make a hovering bird look genuinely epic. On warm days, heat haze can ruin sharpness; the fix is practical rather than technical—shoot early, reduce shooting distance, and avoid long lines of sight over tarmac or shimmering grass.
Quick workflow in the field: a simple checklist for consistent results
- Before you go: check wind direction and sun position. Plan to keep the sun broadly behind you and to face into the wind where possible.
- On arrival: watch first. Identify repeat perches and the hunting strip the bird favours, then choose a position that gives you a clean background.
- Dial in a baseline exposure: take a test frame of the sky and of the grass to see what your camera is doing. Set your hover shutter speed early so you’re not scrambling when the bird lifts.
- Save a quick preset: if your camera allows custom modes, store one for hover (fast shutter) and one for perched (slower shutter, lower ISO).
- Road safety: never stop where you block traffic or distract drivers. Use proper pull-ins, keep doors and gear controlled, and prioritise safety over the shot.
Post-processing for natural-looking kestrel detail (UK-friendly, realistic edits)
The aim in editing is to keep the kestrel looking real: crisp detail on the head and upperparts, controlled highlights in sky, and natural colour in the warm chestnut tones.
Start with a disciplined crop: crop only as much as you need to strengthen composition. Heavy crops can magnify softness and noise, especially in hazy conditions. Straighten horizons and perches where it helps the image feel calm and “certain”.
Recover highlights first: kestrels are often photographed against bright UK skies. Pull back highlights to keep cloud