
Wireless Bird Box Camera With Night Vision
Choose a wireless bird box camera with night vision that suits your garden. Compare Wi‑Fi vs receiver kits, IR types, power, and setup.
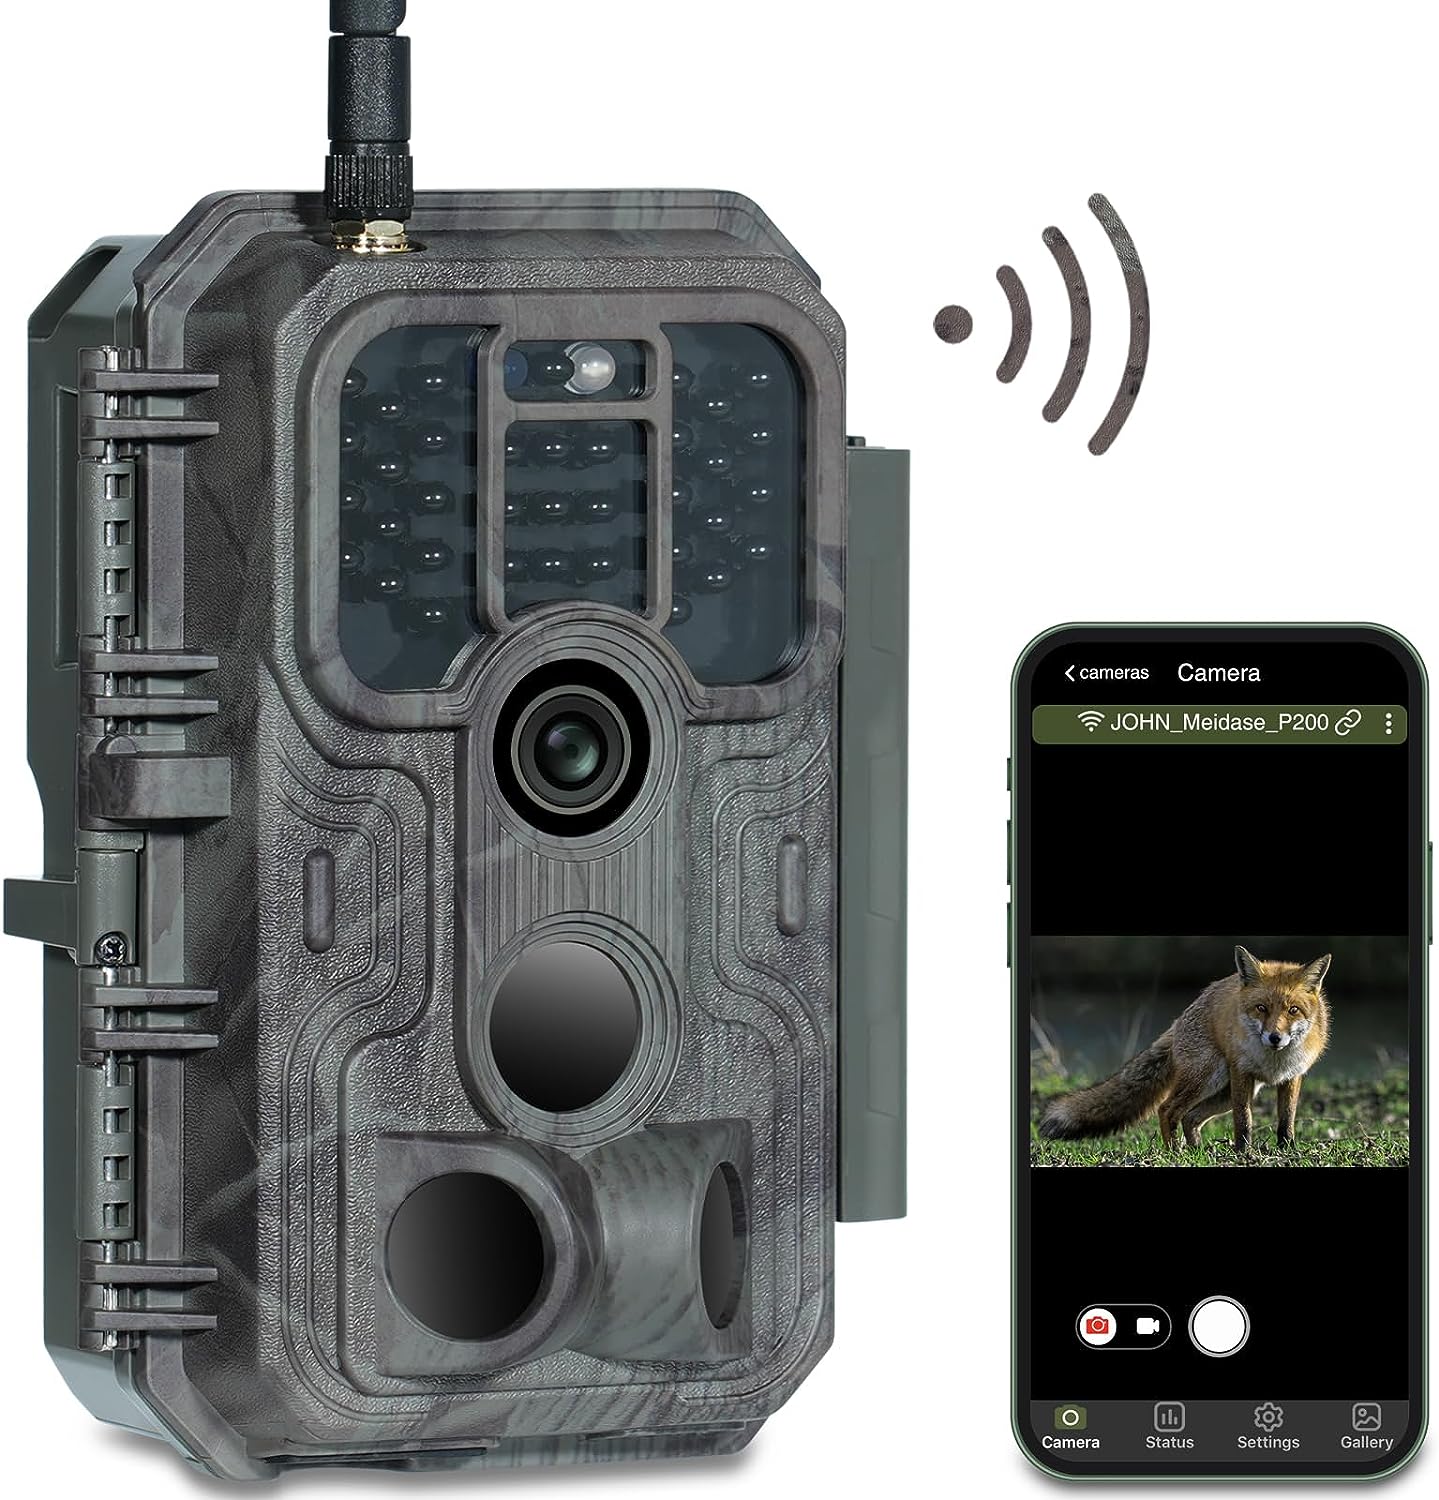
Wireless Bird Box Camera With Night Vision: UK Buying & Setup Guide (Wi‑Fi vs Receiver)
If you’re searching for a wireless bird box camera with night vision, you’re usually trying to solve three practical problems at once: getting a stable signal from the nest box to your screen, seeing clearly in a dark wooden box, and doing it all without disturbing birds during the UK breeding season.
The quickest path to the right choice is to decide (1) how it connects (Wi‑Fi to an app, or a dedicated receiver), (2) how it sees at night (infra-red type and how it handles glare at close range), and (3) how it’s powered (mains vs battery). Once those are clear, installation becomes straightforward: set it up and test it before the box is occupied, keep changes to the box minimal, and prioritise reliability over flashy specs.
Wireless bird box camera with night vision: what “wireless” and “night vision” actually mean
Most confusion comes from the word “wireless”. In nest box cameras, wireless usually refers to the video signal, not the power supply. Many “wireless” kits still need either a mains adapter or a power lead to the camera, and some use a short cable from camera to transmitter. It’s worth checking this early, because a tidy install in a UK garden often depends more on where you can safely route power than on the camera itself.
“Night vision” in a bird box almost always means infra-red (IR) illumination plus a camera sensor that can see IR light. In daylight, you’ll get colour footage. In the dark, most systems switch to black-and-white because that’s how the sensor performs best in low light. This isn’t a fault; it’s normal and usually gives the clearest detail of behaviour and feeding visits.
IR LEDs are sometimes described as “invisible”. In practice you’ll see two common types:
- Low‑glow IR: a faint red glow can be visible if you look directly at the LEDs.
- No‑glow IR: designed to be less noticeable to people; manufacturers often market this as “940nm” (you’ll need to verify the spec on the product page).
Inside a nest box, expectations should be realistic. It’s a very small, dark, dusty space. Condensation in spring cold snaps, cobwebs, and the reflective surfaces of smooth timber can all affect image quality. A reliable, well-aimed 1080p feed that stays connected is usually more useful than higher headline resolution that drops out or overexposes at night.
Choose your wireless option (Wi‑Fi, dedicated receiver, or local recording)
There isn’t one “best” wireless method for every UK garden. The right option depends on the distance from your router, the construction of your house (old stone walls can be brutal on signal), and whether you want a live stream, recorded footage, or both.
Wi‑Fi to phone/app (most convenient, but signal-sensitive)
A Wi‑Fi bird box camera connects to your home network and streams to an app on your phone or tablet. The convenience is obvious: you can check the box from the sofa, or even away from home if remote viewing is supported.
In UK homes, the key practical points are:
- 2.4GHz vs 5GHz: many small outdoor cameras use 2.4GHz because it travels further through walls than 5GHz. If a camera only supports 5GHz, it may struggle to reach a box at the far end of a long garden.
- Router distance and obstacles: kitchens, foil-backed insulation, conservatories, and thick external walls can weaken signal fast.
- App support: the camera is only as useful as its app. Before buying, check that the app is actively maintained, supports the devices in your household, and allows sensible privacy controls.
Wi‑Fi makes the most sense when the nest box is reasonably close to the house (for example on a garage wall, shed near the house, or a tree not too far from the router) and you’re happy to manage settings and updates like any other smart device.
Dedicated receiver kit (often more reliable for long gardens)
Receiver-based kits use a dedicated wireless link between the camera/transmitter and a plug-in receiver (often connected to a monitor or to your home network via the receiver). They can be a good fit if you don’t want to rely on your router reaching the box, or if your Wi‑Fi is busy or unstable.
Typical UK use-cases include a nest box on an outbuilding, a box at the end of a long garden, or properties where the router can’t be placed near the garden-facing wall. You still need to think about power and safe cable routing, but you may avoid the constant “is it the Wi‑Fi?” troubleshooting.
Local recording (SD card/NVR) as a practical fallback
Even with a strong wireless link, local recording can be valuable. A camera that records to an SD card (or a system that records via an NVR) can capture key moments even if the connection drops for a few minutes or your broadband goes down.
For nest box monitoring, local recording is especially handy if you want to review behaviour patterns: first activity at dawn, feeding rate changes in poor weather, or the day fledglings launch. Live viewing is enjoyable; recordings are what help you learn.
Decision shortcut (UK gardens):
- Terraced house, box near the back wall: Wi‑Fi is often simplest if 2.4GHz signal is solid.
- Long garden or box in a distant tree: consider a dedicated receiver kit, or plan for a Wi‑Fi extender (verify it’s outdoor-safe and positioned sensibly).
- Thick stone walls / patchy indoor Wi‑Fi: receiver kits or a carefully placed access point can be more dependable than hoping the router reaches outside.
- You mainly want highlights, not constant streaming: prioritise local recording plus occasional live checks.
Night vision inside a nest box: IR type, glare control and what to look for
Night vision is where nest box cameras differ from general outdoor security cameras. The subject is extremely close, the space is enclosed, and the surface (wood) can reflect IR in a way that “washes out” the image.
No‑glow vs low‑glow IR: if a manufacturer offers a no‑glow IR option, it’s worth considering for peace of mind, especially if you’re monitoring sensitive species or simply want to minimise any chance of disturbance. Product wording varies, so check whether “no‑glow” is clearly specified and whether the IR wavelength is listed. If it isn’t, treat it as unknown rather than assuming.
Glare control at close range: in a nest box, the camera may be only a few centimetres from the nest cup. Too much IR can cause a bright hotspot, making it hard to see detail. Useful features (when available) include:
- Adjustable IR intensity (or a “low IR” mode).
- A lens designed for close focus rather than a wide outdoor scene.
- A sensible field of view: ultra-wide lenses can distort the edges and make the nest look further away than it is.
Placement matters as much as specs. If the lens points straight at a pale wood surface or shiny fixing plate, IR reflection can bounce back into the sensor. A slight angle change or a small hood/shield (if the kit provides one) can improve night footage dramatically. If you use bedding such as wood shavings, keep it level and not piled high under the lens, which can create an IR “snowdrift” effect in the image.
A practical behavioural check: after installation (and only when the box is empty), test the camera at night and look for a clear view of the nest area without a bright flare. In season, if you notice birds hesitating at the entrance or showing repeated “startle and leave” behaviour, reduce interference (including any additional adjustments) and consider pausing monitoring rather than repeatedly opening the box.
The essentials checklist (specs that matter more than marketing)
Nest box cameras are a game of trade-offs. These are the specs and features that tend to matter most in real use, especially in changeable UK weather.
- Resolution and frame rate: 1080p is often plenty for behaviour and identification inside a box. Higher resolutions can increase bandwidth needs and storage. Aim for smooth, stable footage rather than chasing maximum numbers.
- Lens and focus distance: the camera should be able to focus clearly at very short range. “Macro” capability isn’t always stated, so look for wording that the camera is designed specifically for nest boxes.
- Field of view (FOV): you want to see the nest cup and as much of the floor as practical, without making everything look tiny. If the FOV is very wide, check if the app allows digital zoom or different viewing modes.
- Microphone: audio can be fascinating (begging calls, wing fluttering, contact calls), but it raises privacy considerations if the box is near neighbours. Position and settings should avoid capturing conversations in nearby gardens.
- Weather resistance: even though the camera is inside the box, connectors, power leads, and any external transmitter may be exposed. Check for weather-rated components where they sit outdoors.
- Cable length and connectors: “wireless” systems often still involve cables for power or for camera-to-transmitter. Measure the route you’ll need and add slack for a drip loop and strain relief.
- Security and updates: use strong passwords, change default logins, and apply firmware updates. If the camera supports guest access, use that rather than sharing a main account.
One useful mindset: buy for the install you can do safely and neatly, not the spec sheet you can imagine. A camera that’s awkward to power or frequently disconnects will cause far more disturbance because it tempts you to keep fiddling with it.
Power and reliability in UK conditions (battery vs mains, solar, and winter reality)
Power is the quiet deciding factor. Night vision, wireless transmission, and motion alerts all draw energy, and UK winter and early spring can be hard on batteries.
Battery-powered cameras: they sound ideal for “no cables”, but IR night vision can drain batteries quickly, especially if the camera is frequently triggered. You’ll also face a practical problem: swapping batteries or recharging often means going close to the box. That’s fine when the box is empty; it’s not what you want once birds are prospecting or nesting.
Mains-powered (via an adapter): for most nest box monitoring, mains power is the most stable option. The key is to route cables safely: protect them from UV where possible, avoid trip hazards, and prevent water tracking along the cable into the box or a connector. If you’re not confident with outdoor cable management, keep the run short or seek advice from someone experienced.
Solar: solar can work for general outdoor cameras, but nest boxes are often sited in shade (which is good for the birds and helps prevent overheating). In the UK, shaded solar panels can underperform for long periods. If a kit offers solar, verify the panel size, expected output, and whether it realistically supports continuous night recording.
Finally, think about what happens if your internet goes down. If you’d be disappointed to miss key moments, prioritise local recording, even if you mainly watch live.
Responsible installation for UK garden birds (timing, placement, and disturbance)
A bird box camera should add to your enjoyment and understanding, not put pressure on the birds. The most responsible approach is simple: install and test outside the breeding season, then leave it alone.
Timing: in much of the UK, birds begin prospecting and nesting in spring, but timing varies by species, region, and weather. The safest rule is: if a box is already being investigated (frequent visits, carrying nesting material, or birds lingering inside), don’t open it to fit or adjust a camera. If you’re unsure, pause and get local advice from trusted wildlife organisations or a local bird group.
Placement for birds and for footage: you’ll likely already know the basics of nest box siting, but camera monitoring adds a few practical considerations:
- Light control: avoid placing a box where strong sun hits the front for long periods. It can overheat the box and also cause harsh exposure swings on camera.
- Shelter from driving rain: a sheltered spot reduces damp inside the box, which helps both bird welfare and image clarity (less condensation on the lens).
- Stable fixing: a box that sways in wind will give shaky footage and can be less attractive to birds. Stability matters more once you add the weight of a camera unit.
Camera positioning: use a camera designed for the purpose where possible, so it mounts neatly without reducing internal space. Avoid any setup that blocks the entrance hole or creates snag points. Keep internal changes minimal: birds choose boxes partly by feel and space. A bulky camera, loose cables, or sharp edges can be a problem.
Hygiene and parasites: nest boxes should be cleaned at the appropriate time (typically when they’re definitely empty). Avoid using chemicals inside a box, and never spray anything around an active nest. If you do maintenance, do it quickly and carefully, and only when the box is not in use.
Legal and ethical note: you should avoid disturbing nesting birds. If fitting a camera would require opening or altering an occupied box, don’t do it. When in doubt, leave the birds undisturbed and seek guidance from an established UK wildlife organisation.
Step-by-step setup: from unboxing to a stable night-time feed
This is a practical sequence that reduces frustration and (most importantly) reduces the temptation to keep adjusting things once birds are active.
- Check signal at the box location: if you’re using Wi‑Fi, take your phone to the proposed box position and check whether you have a strong, stable 2.4GHz connection. If the signal is poor now, it won’t magically improve once the camera is installed.
- Bench setup first: connect the camera indoors, install the app (if relevant), and complete first-time pairing on a table. Apply any firmware updates straight away.
- Set security basics: use a strong, unique password; turn on two-factor authentication if available; and disable any features you don’t need (such as unnecessary cloud sharing).
- Test day image: temporarily place the camera at the intended angle (even just holding it in place) and check that the nest floor and entrance area are visible.
- Test night IR image: switch lights off and review the night picture. Look for glare, overexposure, or a bright hotspot. Make small angle adjustments now, before fitting it permanently.
- Fit neatly and safely: route cables with a drip loop, secure them to reduce movement, and protect connectors from rain. Make sure nothing can be pulled loose by wind or curious animals.
- Configure alerts sensibly: if motion alerts are available, keep them conservative. A nest box camera can generate constant triggers (shifting light at the entrance, insects, foliage movement) and you don’t want to miss genuinely useful moments in a flood of notifications.
- Plan “hands-off” monitoring: once the box is in use, aim to watch and record without opening it. If image quality changes, it’s usually condensation or a moved bedding layer; resist fixing it unless the box is definitely empty.
Common mistakes (and how to avoid them)
- Assuming “wireless” means no power cable: check the power method before you buy, and plan the cable route before you mount the box.
- Relying on 5GHz Wi‑Fi outdoors: many gardens do better on 2.4GHz for range. Verify what the camera supports and test signal strength where the box will sit.
- Over-bright IR and a washed-out image: too much IR at close range is a classic nest box problem. Look for adjustable IR or a camera designed for short-distance viewing.
- Installing or “tweaking” once birds are active: repeated opening of the box is a disturbance risk. Do the setup work before the season and leave it.
- Sharing a live feed too widely: avoid posting anything that reveals your address or an identifiable location, particularly if the species is unusual or if the box is accessible from public land.
What to buy (product-type recommendations + placeholders, no specific “best”)
Without getting drawn into “best of” lists, these are the most sensible product profiles for most UK readers looking for a wireless bird box camera with night vision.
- Wi‑Fi nest box camera kit (short-to-medium router distance): choose this if your box is close enough for a stable 2.4GHz signal, you want phone viewing, and you’re comfortable using an app. Prioritise no‑glow IR (if available) and local recording support.
- Dedicated receiver wireless kit (long garden / tricky Wi‑Fi): choose this if your Wi‑Fi struggles outdoors or the box is far from the house. Look for clear information about range (treat all range claims as “best case”), antenna placement, and whether the receiver can also record.
- Local recording-first setup (SD/NVR): choose this if reliability matters more than constant live streaming. It’s also a good approach if your broadband is unreliable or you don’t want continuous cloud features.
Before you commit, verify:
- Power requirements: is it mains-only, battery, or a mix (for example mains camera with a small battery backup)? If it’s mains, what length is the cable from camera to adapter, and is it realistically long enough for your route without risky extensions?
- Where recording happens: SD card in the camera, in the receiver, or only via a cloud plan. If cloud is offered, check whether recording still works locally without a subscription.
- IR details: is “no-glow” explicitly stated, and is IR intensity adjustable? If the listing only says “night vision” with no detail, assume a basic IR setup and expect some close-range glare until you fine-tune the angle.
- Intended use: make sure it’s actually a nest box kit (close-focus lens, suitable mount, minimal protrusions). General “outdoor security” cameras can work, but the wide focus and aggressive motion alerts can be frustrating inside a confined box.
- App and support: check the app name, recent update history, and whether multiple household members can view safely (guest access) without sharing one master login.
- Returns and spares: nest box installs are exposed to damp and knocks. It’s sensible to check the returns window and whether you can buy spare brackets/cables without replacing the whole kit.
Suggested product blocks (placeholders):
[Product block: Wi‑Fi bird box camera kit with no‑glow IR + SD recording]
[Product block: Dedicated receiver wireless kit suitable for long gardens / outbuildings]
[Product block: SD card / local recording accessory or NVR option compatible with your chosen system]
If you’re reading this on a page that includes affiliate links, you can also review our Affiliate Disclosure for transparency on how recommendations are funded.
Final thoughts
A wireless bird box camera with night vision is a brilliant way to learn what’s happening in a nest without hovering outside the box—but only if you choose for reliability and install it with minimal disturbance. Keep it simple: decide first whether you need Wi‑Fi or a dedicated receiver, prioritise close-range night vision that won’t wash out at a few centimetres, and pick a power approach you can run safely without repeated visits to the box.
Your best next step is to do a quick “real world” check before buying: stand where the box will go and assess your Wi‑Fi signal (if that’s the route), plan the cable path (even for many “wireless” kits), and aim to install and test everything well before the breeding season begins. Once birds are showing interest, the responsible approach is hands-off monitoring: watch, enjoy, and let the birds get on with it.


